Fermi Summer School 2015: Setup Instructions
Every student should arrive at the summer school with their own computer as well as the needed software. We are providing a self-contained Virtural Machine (VM) that has all of the software you might possiblly need during the school. Follow the instructions below to download and setup the VM. If you have any questions, don't hessitate to contact the organizers. Note that you will need about 20GB of free space to use the VM.
Install VirtualBox
We are providing a VM that run on Oracle VirtualBox. Virtualbox run on Windows, Linux and Macintosh (plus several others) so you should have no problem installing it. Make sure you download the most recent version (as of writing this, it is 4.3.28). If you already have VirtualBox on your computer, make sure to upgrade it to the most recent version. We cannot guarantee that the VM we provide will work on older versions of VirtualBox.
Download the VM
Use the following link to download the VM. Note that this is quite large (3.41GB) so start early. We are providing several download points so if one doesn't work, try another.
Decompress the VM
Move the compressed tarball containing the VM that you just downloaded into the VirtualBox VMs folder (this is usually in your home directory; if it's not there, just create a convenient place for the VM to live). Note that the VM is 7.8 GB after you decompress it so make sure you have enough space.
[user@localhost ~]$ mv ~/Downloads/fermi2015-4.vmdk.tar.gz ~/VirtualBox\ VMs/

[user@localhost ~]$ cd ~/VirtualBox\ VMs/

[user@localhost ~]$ tar zxvf fermi2015-4.vmdk.tar.gz

x fermi2015-4.vmdk
You should now have a file called 'fermi2015-4.vmdk' that is 7.8 GB in size in that directory.
Add the VM to VirtualBox
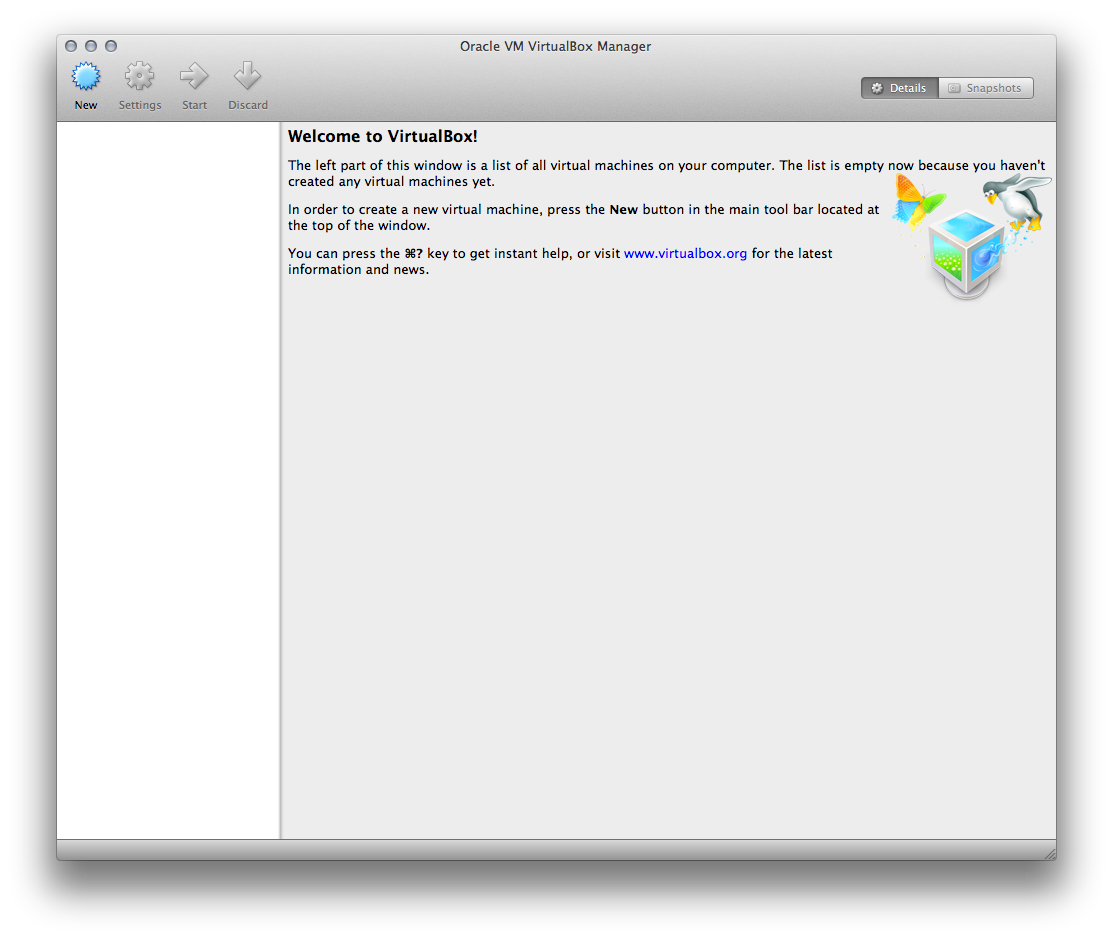
Now, launch VirtualBox. You should see a screen that looks something like this (this is on a Mac, it might look slightly different on Windows and Linux).
Note that for the 2015 VM, the user name is fermiuser instead of fermi2014.
Click on the 'New' button (or go to the 'Machine' menu and select 'New')
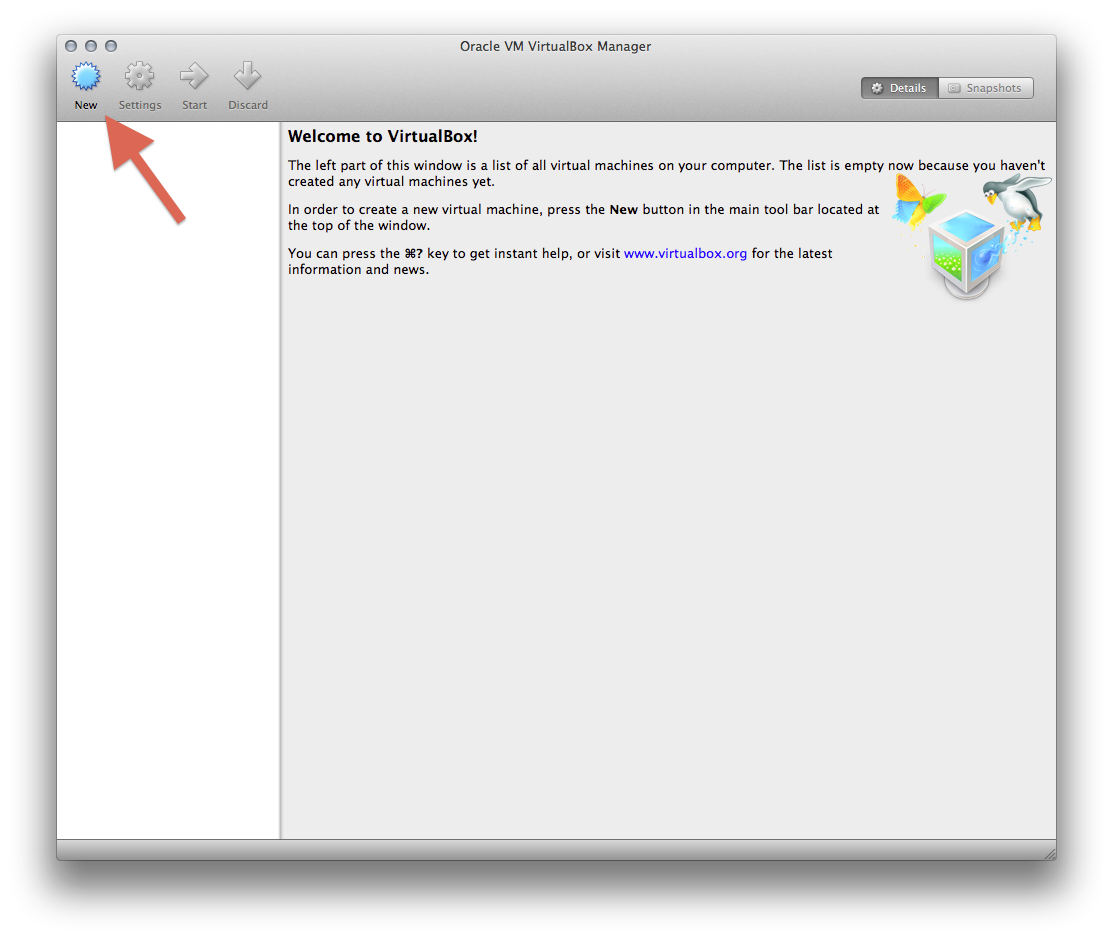
You should see a pop-up window like the following. Name the VM whatever you want (we named it 'fermi2014' here). Select 'Linux' for the 'Type' and 'Red Hat (64 bit)' for the 'Version'. Click on 'Continue' when you've done this.

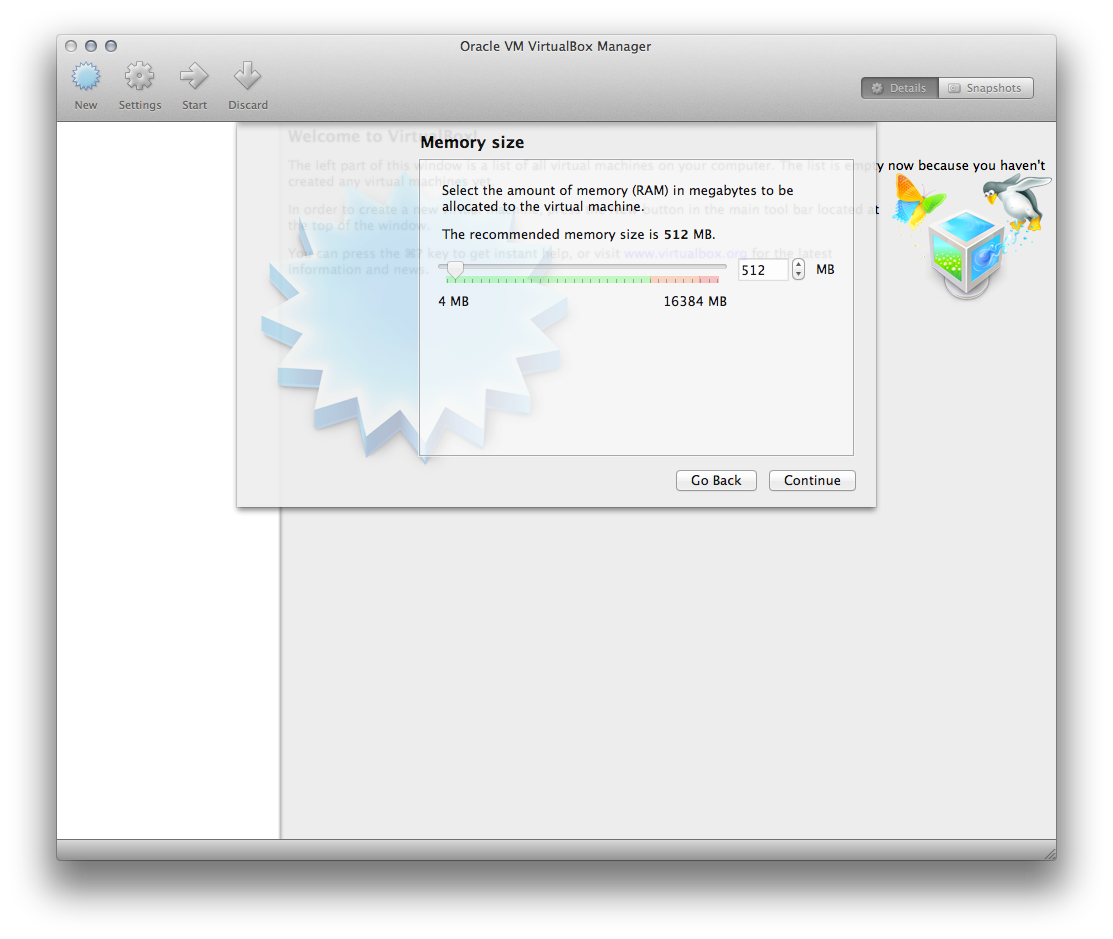
Now, you should see a window asking how much memory to give the VM. This is how much of your actual physical system memory will be dedicated to the VM that you won't be able to use on your system. It defaults to 512 MB which is tiny. Give it at least 2GB. If you can give it more, you probably should. Don't worry, you can adjust this later if needed. Click on 'Continue' when you've done this.
You should now see a window like this.

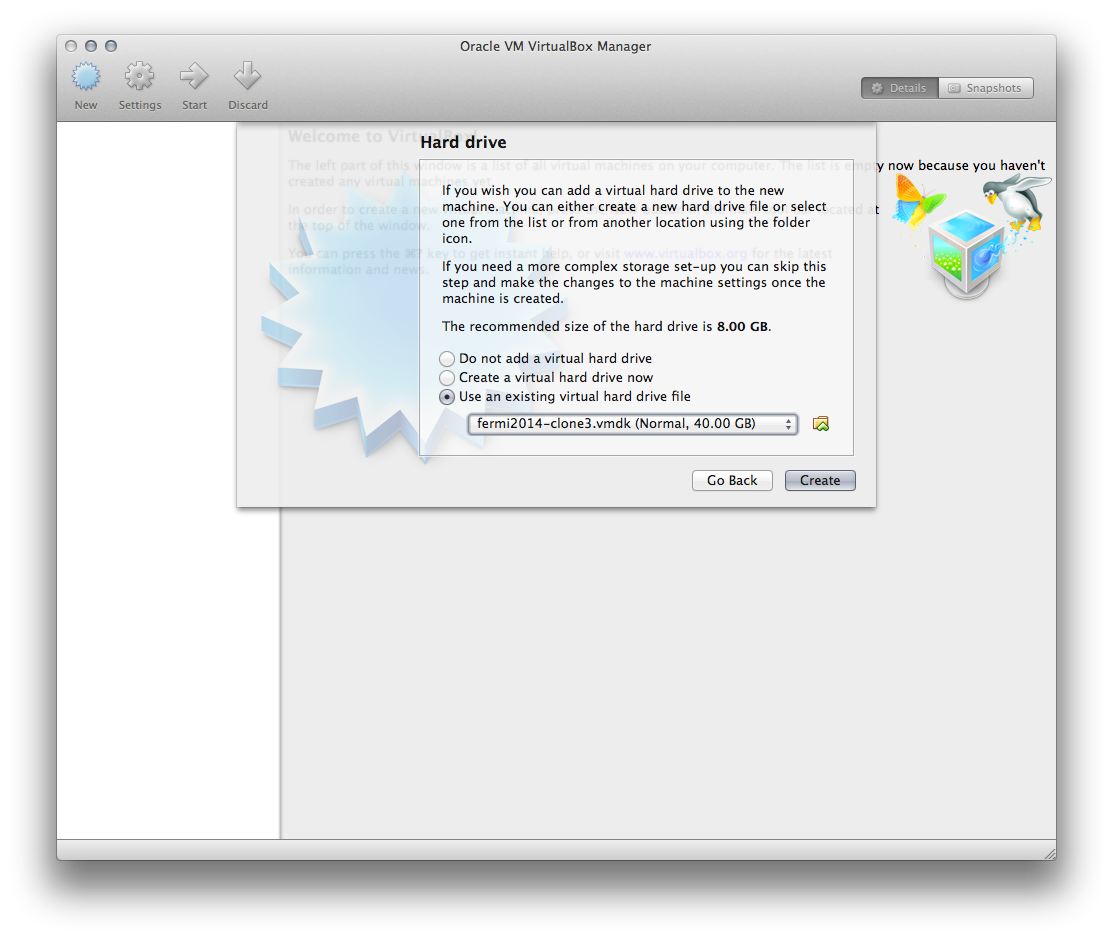
Select 'Use an existing virtual hard drive file' and then on the little folder icon (this is on a mac, not sure what it will look like on other OSs).
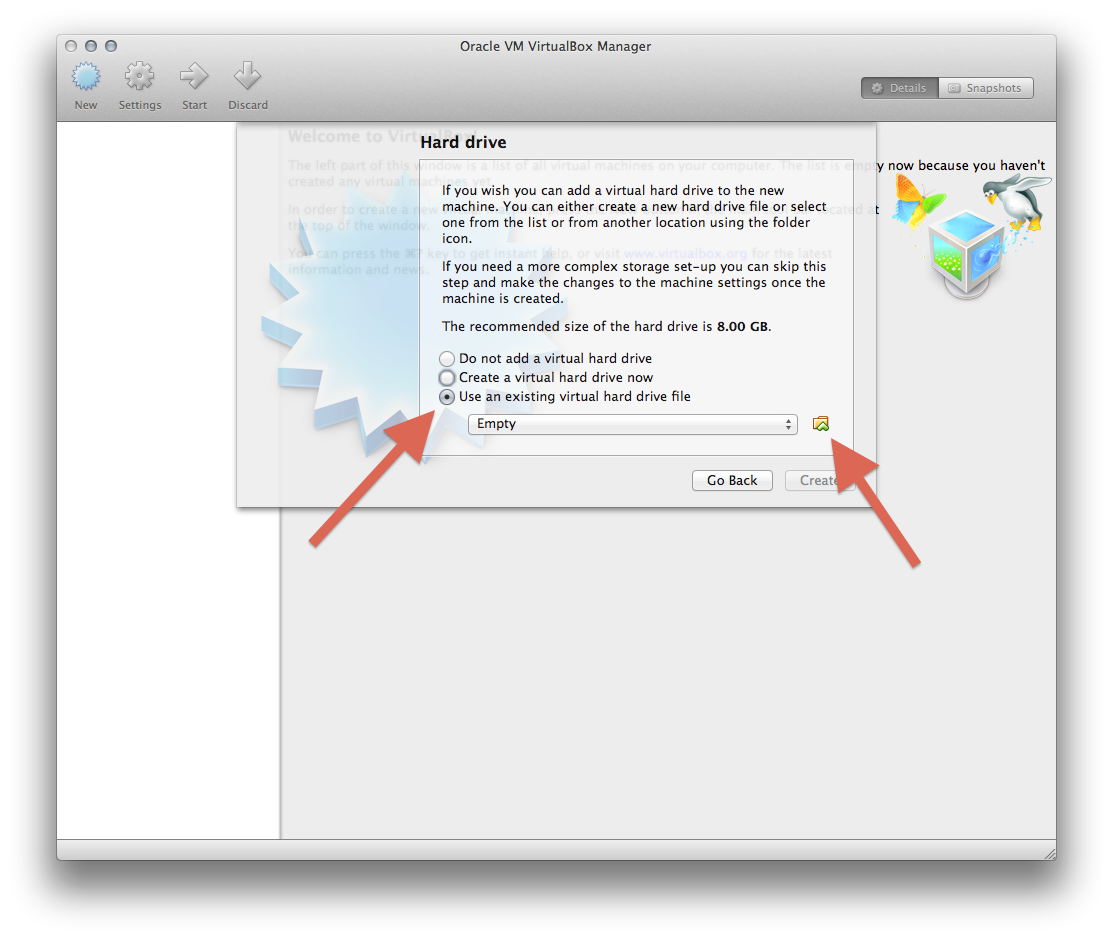
This will pop up a file browser. Browse to the vmdk file you decompressed and select 'open'. Once you do this, you should have a window that looks something like this. Click 'Create' to create the VM.
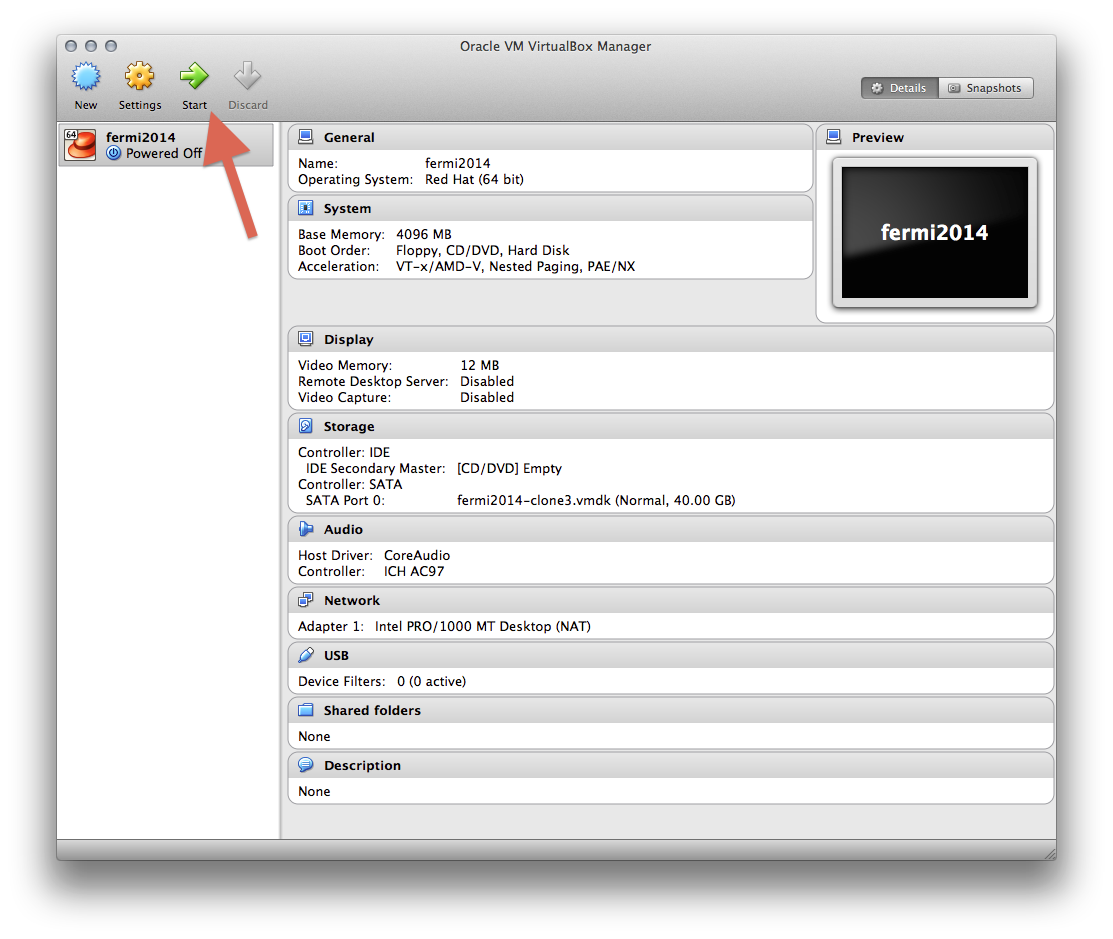
Once you do that, you should see a window that looks something like the following. Click 'Start' to start up the VM. You should see a window pop up, and see Linux starting up inside that window.
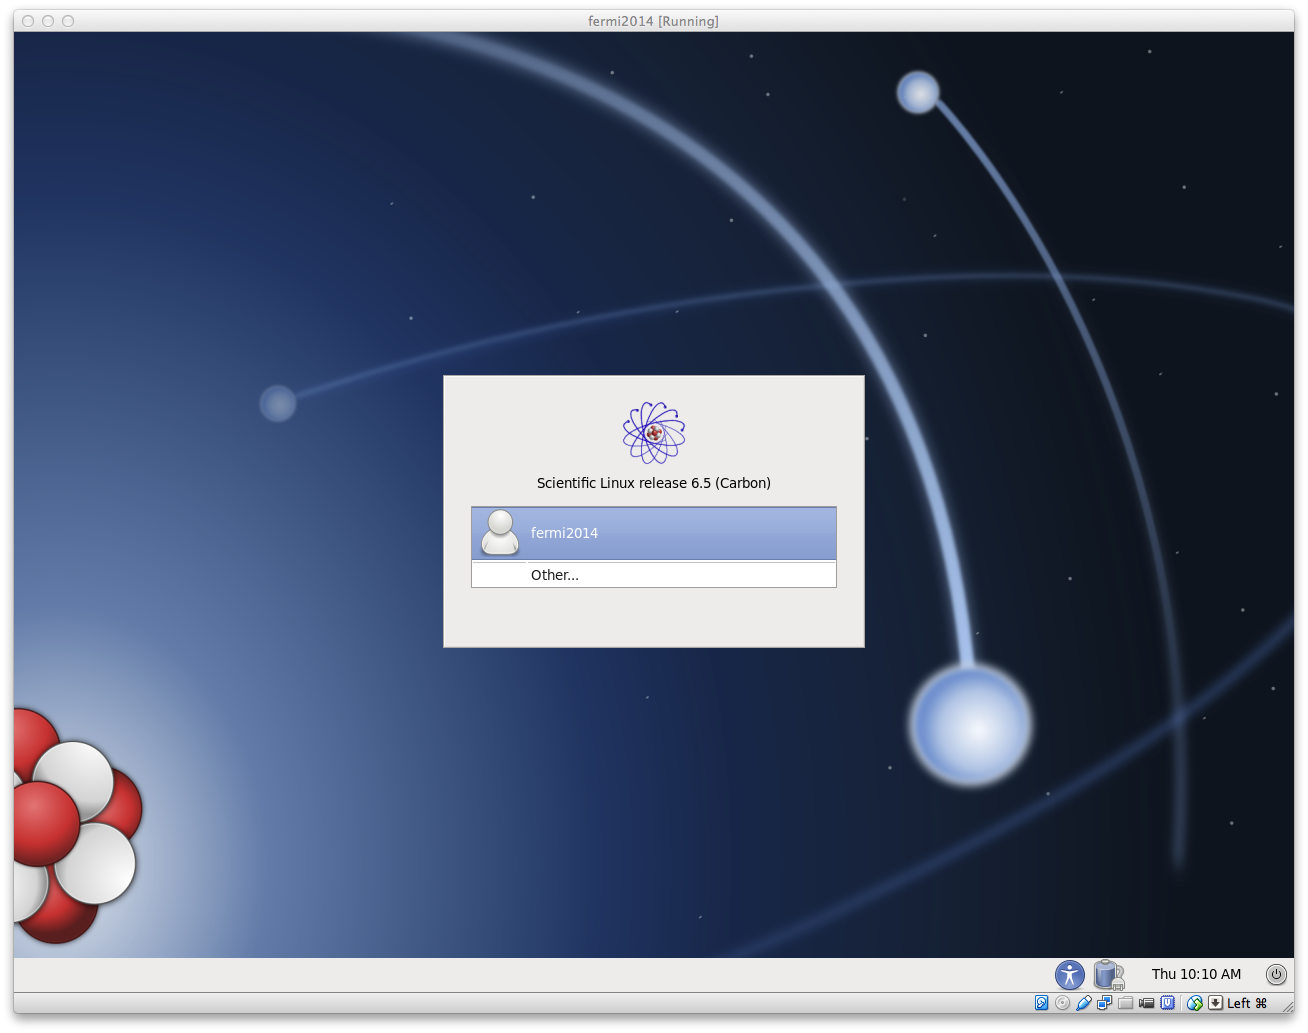
In the end, you should have window that looks like this. Contact the organizers for the password. You're good to go.
Contact

- Curator: J.D. Myers
- NASA Official: Elizabeth Hays
- Fermi FAQ, Comments, Feedback
- › Privacy Policy and Important Notices
- › Accessibility
- › Contact NASA
- › Page Last Updated: Wed, May 20, 2015